Interface Elements for Desktop > Report Designer > Report Designer for WinForms > Create Reports > Styles and Conditional Formatting in Reports > Conditionally Hide Bands
This tutorial describes how to hide bands if a certain logical condition is met. Note that no scripts are required to accomplish this task.
To demonstrate this feature, we'll use a report with grouping, similar to the one created in the following tutorial: Change or Apply Data Grouping to a Report.
To conditionally hide bands in a report, do the following.
1.Select the Group Header, and click its Smart Tag. Then, in the invoked actions list, click the ellipsis button for the Formatting Rules option.

In the invoked Formatting Rules Editor, click the Edit Rule Sheet... button.
2.Now, in the invoked Formatting Rule Sheet Editor, click the ![]() button, to create a new rule. Then, set its Visible property to False, and click the ellipsis button for the Condition property.
button, to create a new rule. Then, set its Visible property to False, and click the ellipsis button for the Condition property.
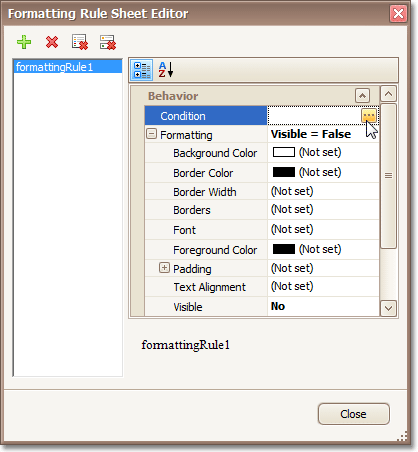
3.Construct the required logical expression (e.g. [CategoryID] < 2), and click OK.

To quit the Formatting Rule Sheet Editor, click Close.
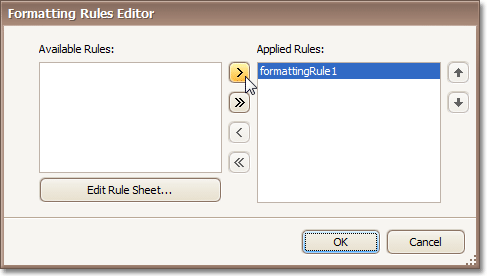
4.Back in the Formatting Rules Editor, move the created rule to the dialog's right section (Applied Rules), to make it active.
And, do the same for the report's Detail band. That is, click the ellipsis button for its Formatting Rules property, and in the invoked dialog, apply the same rule to this band, as well.
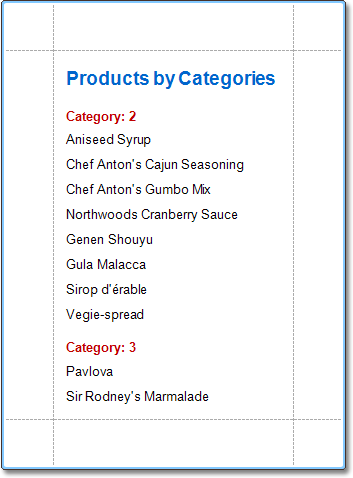
Switch to the Preview Tab, and view the result. In our example, you can see that the first category isn't shown. So, the conditional formatting was applied properly.

 See Also
Conditionally Change a Control's Appearance
Conditionally Change a Label's Text
Copyright (c) 1998-2016 Developer Express Inc. All rights reserved.
Send Feedback on this topic to DevExpress.