Interface Elements for Desktop > Report Designer > Report Designer for WinForms > Create Reports > Binding a Report to Data > Bind a Report to a Database
This document describes the steps required to connect a report to a database.
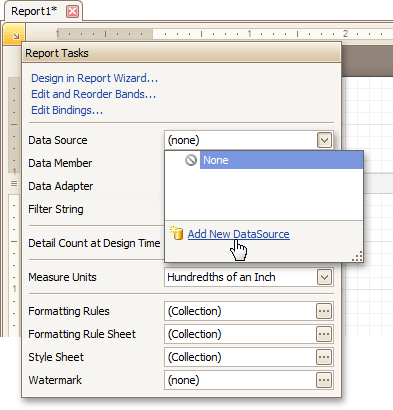
To bind a report to a database, do the following.
2.Click the report's Smart Tag. In the invoked actions list, expand the Data Source drop-down list and click Add New DataSource.
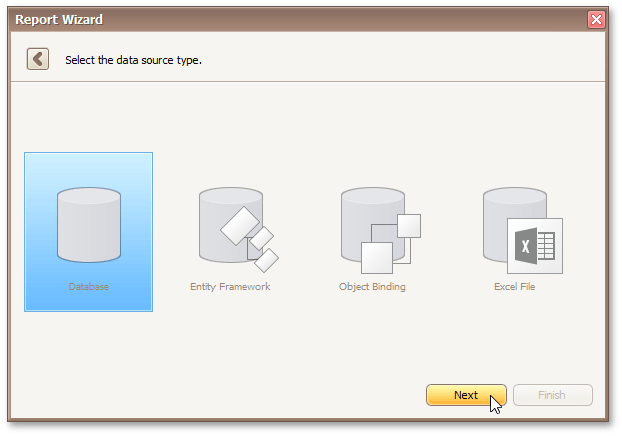
3.The first page of the invoked Data Source Wizard allows you to specify the data source type. Select Database and click Next to proceed.
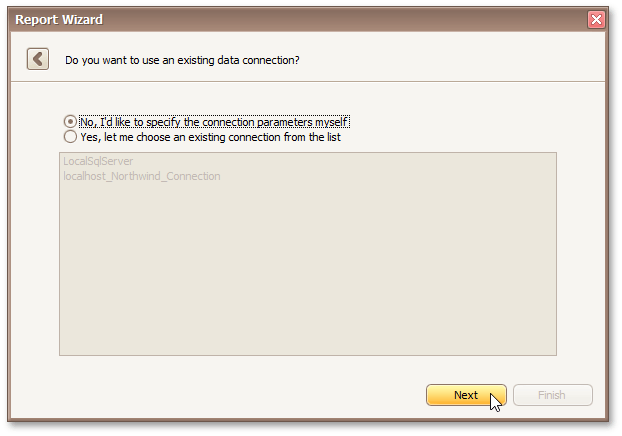
4.On the next page, specify the data connection to be used. If it is absent in the list containing existing connections, select No, I'd like to specify the connection parameters myself and click Next.
5.On the next wizard page, define a custom connection string, or select from the supported data source types. Depending on the data provider selected, it may be necessary to specify additional connection options (such as authentication type and database name) on this page.
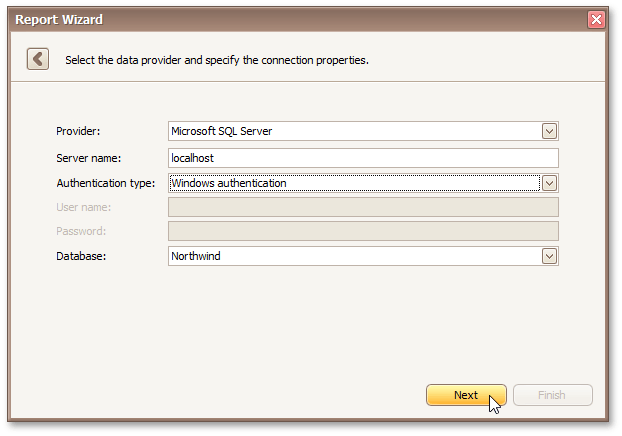
Click Next to proceed.
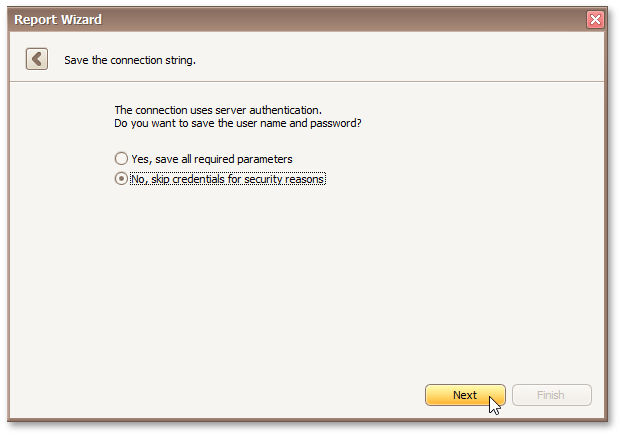
6.If server authentication is required for the selected database type, the next page will prompt you to specify whether or not you want to save the user credentials along with the connection string.
Select the required option and click Next.
7.On the next page, you can construct an SQL query to obtain data from the database, or select a stored procedure.
To construct an SQL query, click Run Query Builder...

8.In the invoked Query Builder window, select an item from the list of available tables on the left and drop it onto the list of data tables to be used.
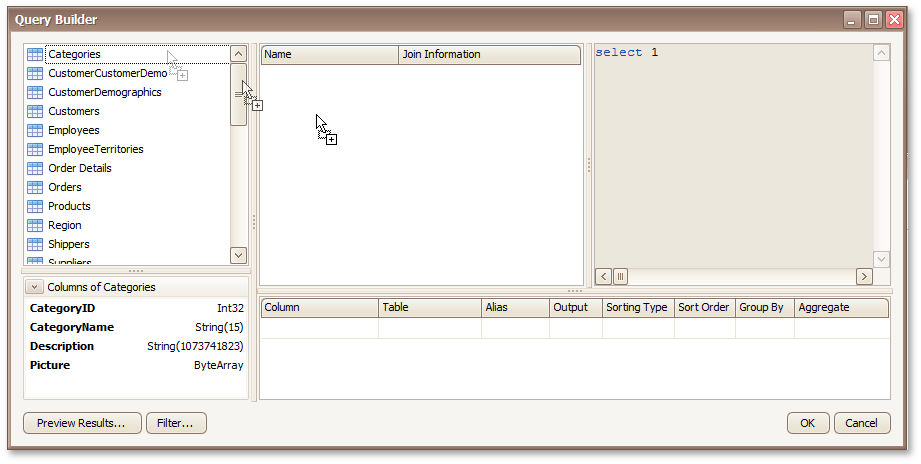
It is only possible to select a single table using the Query Builder. When creating a master-detail report, add the master table first.
9.Enable the check box near the added table to include all of its fields in the data view, and click OK to exit the Query Builder.
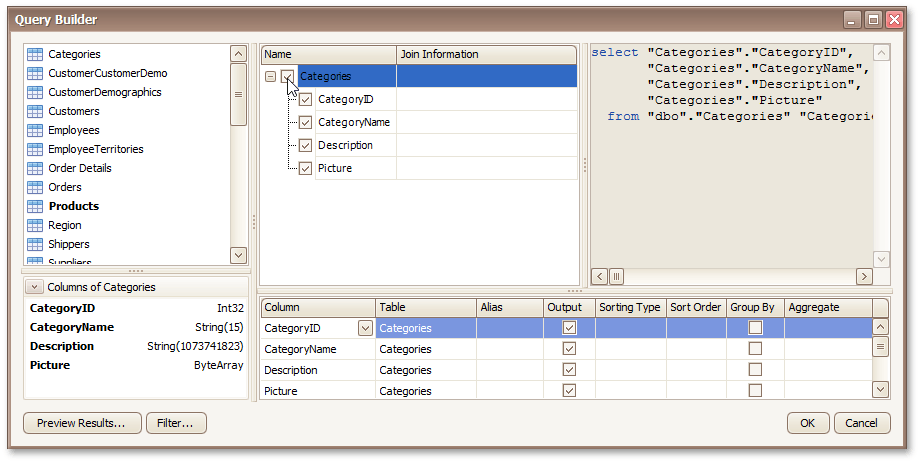
Click OK to exit the Query Builder. Click Finish to exit the Data Source Wizard.
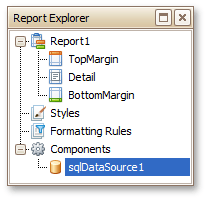
The newly created SQL data source will be displayed in the Components node of the Report Explorer. Additionally, the hierarchy of the data source will be reflected by the Field List.
Copyright (c) 1998-2016 Developer Express Inc. All rights reserved.
Send Feedback on this topic to DevExpress.